Amazon AWS Lightsail allows us to deploy and manage the cloud servers with a few clicks. We can either deploy a fresh server, i.e., Ubuntu, Debian, etc., or a server with pre-installed applications such as WordPress. Additionally, AWS offers you free hosting for the first three months.
In this tutorial, we will deploy Ubuntu on the AWS Lighsail Instance. Let’s get started!
Step 1: Log in to the AWS Lightsail Instance
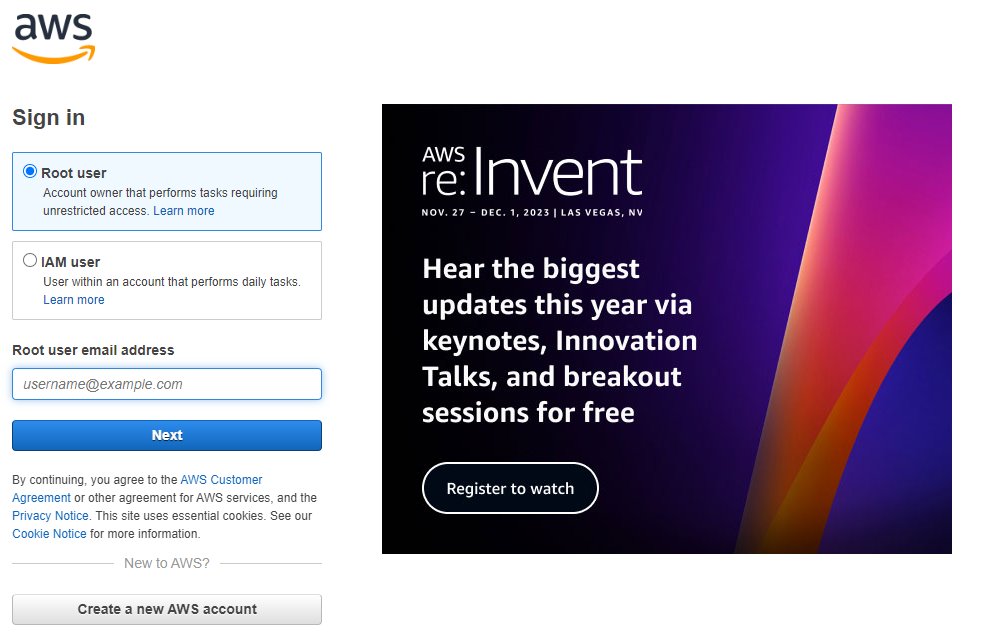
Log in to the AWS Lightsail with your credentials. If you are new to AWS, you need to simply create a new account.
Step 2: Create an Instance into AWS Lightsail
Now, we will create a new instance. Once you log in to AWS Lighsail, click on the Create instance to start the process.

Step 3: Select your instance location
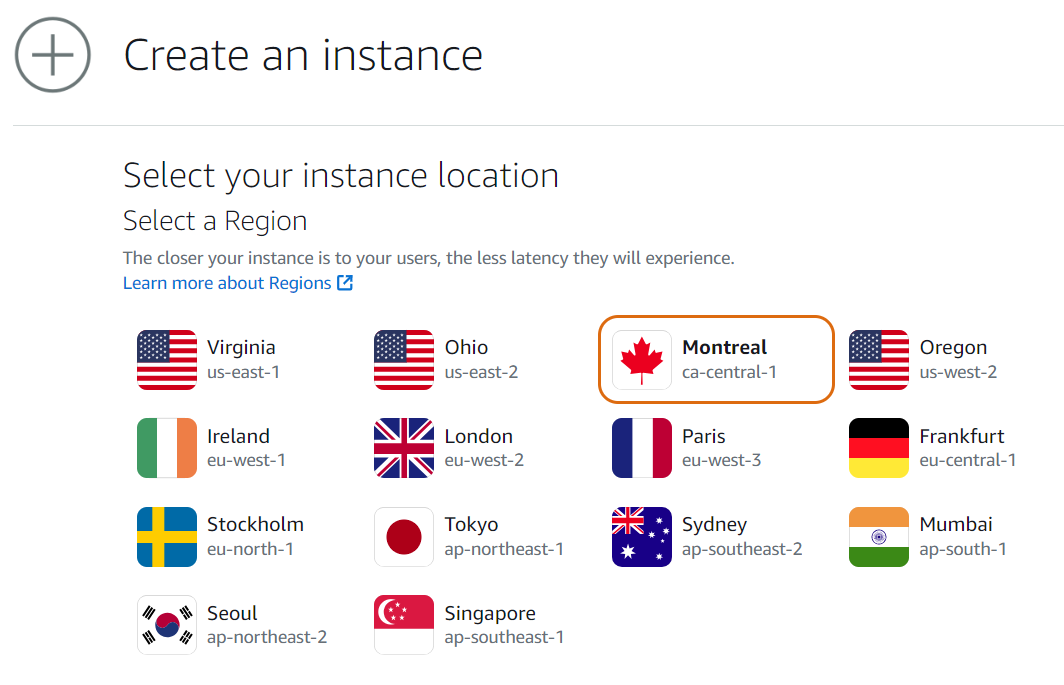
In this step, we will select one of the available geographical locations to deploy our Ubuntu Server. As a thumb rule, it is recommended to choose the server near the target audience. However, if you are deploying the personal user, please select the nearest location. In this demonstration, I will deploy the server in Montreal.
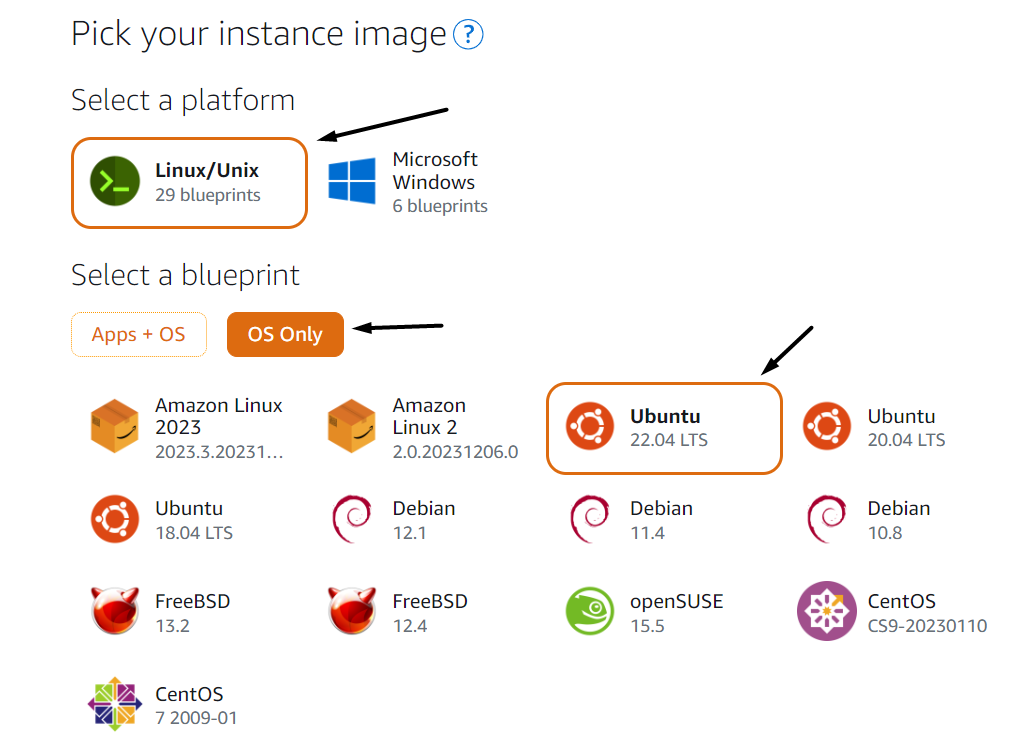
Step 4: Select Linux/Unix – Ubuntu 22.04 LTS and select a blueprint
Now, we need to choose the desired server, of course, Linux in our case. Lightsail blueprint allows you to deploy the virtual machine with pre-configured applications such as WordPress. However, we will proceed with Ubuntu 22.04 LTS installation.
Additionally, you can select the Automatic Snapshots of your Lightsail instance.
Step 5: (Optional) Creating a key par for the SSH access of Lightsail Instance Instance
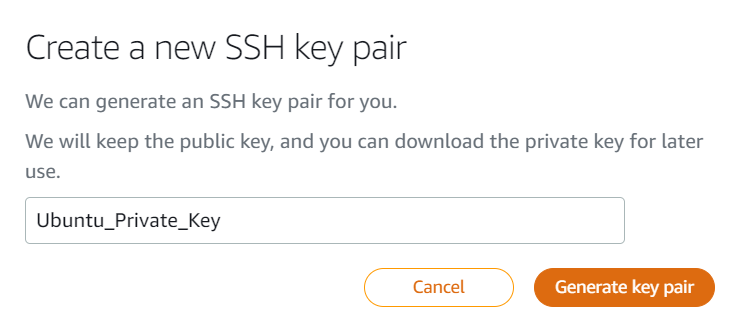
Here, we will choose the SSH Key pair to securely access the Ubuntu Lightsail instance from the public network. By default, the AWS Lightsail console generates a default key pair upon installation of the instance. However, if you want to generate a new SSH key pair, you can click on Change SSH key pair and click on Create New.

Give the SSH Key Pair name and click on the Generate Key Pair.
You can only download the private key once, so download it securely save it.
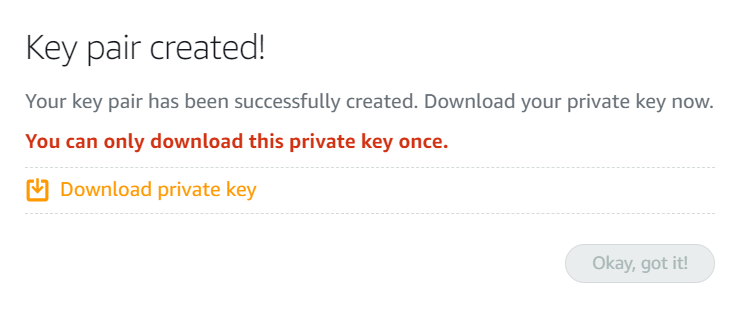
Download the private key and click on Okay, got it!
Step 6: Choose the instance billing plan for Ubuntu on AWS
Depending on the requirements of the Linux instance, you need to select the resources of the machine. The server hosting costs start at $3.5 and go to $160 per month. This depends on the workload and your budget.

Step7: Configure the newly created Ubuntu Instance
Finally, we need to give a unique name to the Ubuntu Instance. Optionally, you can add some tag to this newly created instance to file and organize with different virtual machine instances on AWS Lightsail.
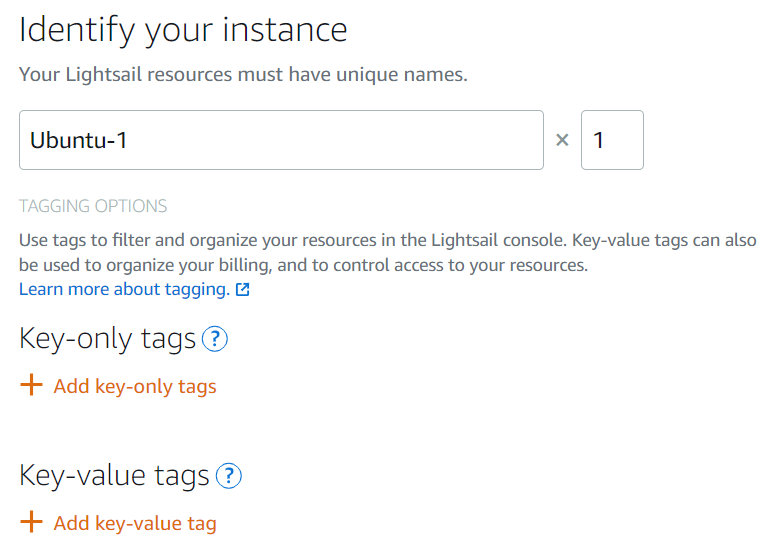
Click on the Create instance. That’s it! We have successfully configured Ubuntu on the AWS Lightsail instance.
Now, navigate to the Lightsail Instances, and you will find the Ubuntu Instance is in the provisioning phase.
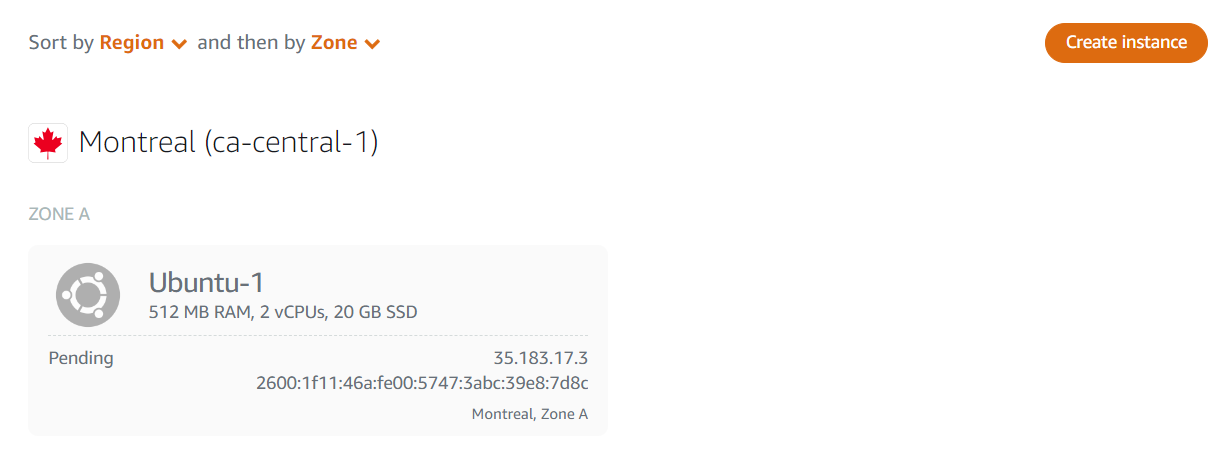
This process will take only a few minutes to complete.
Step 8: Access the Ubuntu 22.04 using Lighsail Instance & Private Key Pair
Till now, we have completed the provisioning of our Ubuntu virtual machine, and it’s up and running. Now, let’s access it via a different method.
The easiest way to open the SSH session is the AWS Lightsail console itself, which can open an SSH session in the browser’s new window. Navigate to the Instances, select the newly created instance, i.e., Ubuntu_01, and click on Connect using SSH.
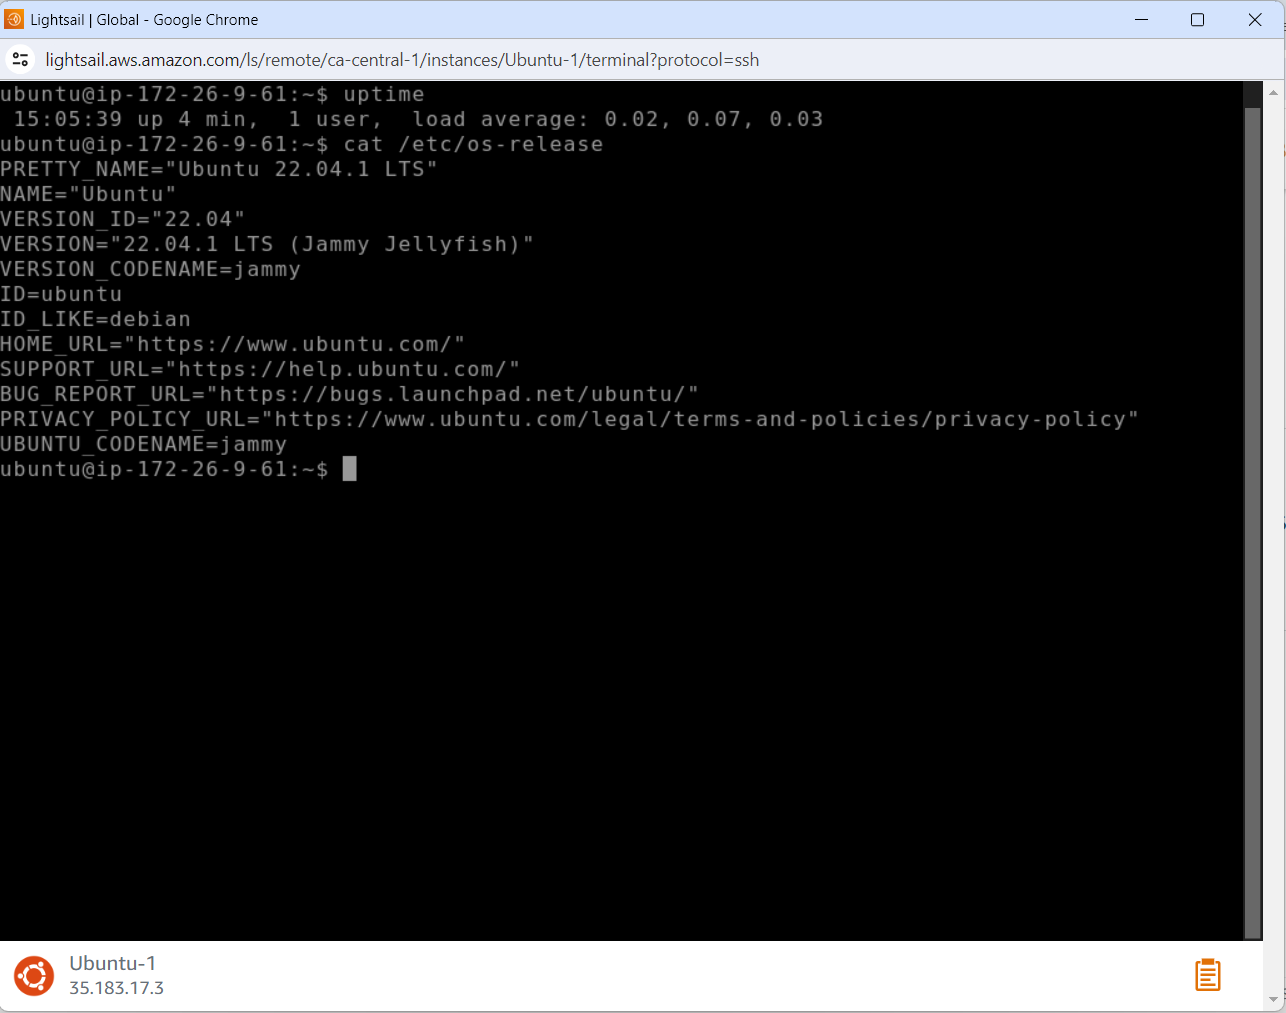
You will get the Ubuntu SSH session in a new browser window and you can deploy your applications directly from this console. However, always accessing it via Lightsail is not possible.
We can simply use the Private Key that we exported in step 5 to access it from anywhere. If you are using any other Linux distro, simply use the below command to access it:
ssh -i Ubuntu_Private_Key.pem ubuntu@35.183.17.3
Since this is a new private key, we will get the below warning message:
The authenticity of host '35.183.17.3 (35.183.17.3)' can't be established.
ED25519 key fingerprint is SHA256:gxX6gFoJxWzwZeeEStkarNFtr3B/tIlugbGv8B9WPXY.
This key is not known by any other names.
Are you sure you want to continue connecting (yes/no/[fingerprint])?
Simply, press yes and then this private key will be stored in known_host.
Warning: Permanently added '35.183.17.3' (ED25519) to the list of known hosts.
Welcome to Ubuntu 22.04.1 LTS (GNU/Linux 5.15.0-1030-aws x86_64)
If you wish to access it via the Windows Machine Command Line, you can use the same command to connect:
C:\Users\FirewallBuddy\Downloads>ssh -i Ubuntu_Private_Key.pem ubuntu@35.183.17.3
Finally, below is the Welcome screen that we will get after the first login:
Welcome to Ubuntu 22.04.1 LTS (GNU/Linux 5.15.0-1030-aws x86_64)

 * Documentation:  https://help.ubuntu.com
 * Management:     https://landscape.canonical.com
 * Support:        https://ubuntu.com/advantage

  System information as of Tue Dec 19 15:20:22 UTC 2023

  System load:           0.005859375
  Usage of /:            7.9% of 19.20GB
  Memory usage:          46%
  Swap usage:            0%
  Processes:             107
  Users logged in:       1
  IPv4 address for ens5: 172.26.9.61
  IPv6 address for ens5: 2600:1f11:46a:fe00:5747:3abc:39e8:7d8c


Expanded Security Maintenance for Applications is not enabled.

0 updates can be applied immediately.

Enable ESM Apps to receive additional future security updates.
See https://ubuntu.com/esm or run: sudo pro status


The list of available updates is more than a week old.
To check for new updates run: sudo apt update

ubuntu@ip-172-26-9-61:~$
By default, AWS Lightsail opens TCP 22 & TCP 80. You can easily manage other network ports from IPv4 Firewall by navigating to Networking.
Further Reading
- Install Apache Web Server on Ubuntu 22.04
- How to configure IPSec tunnel on Ubuntu using strongSwan
- Custom Application on Bitnami using Virtual Hosts & Apache
- How to install Apache Web Server on CentOS 7
- mkdir recursive – Creating Linux Directories Recursively
- Configure SNMPv3 on CentOS
Conclusion
AWS Lightsail console is very easy to manage. We have used the same simplicity to deploy the Ubuntu 22.04 Server on the cloud. You can easily get a Public IP Address and access your Ubuntu instance anywhere.
I hope this article is easy to understand. If this article is helpful, please share it on social media platforms and show us some love.